In this toolkit, you will learn the things you need in order to get started with building your very first website. We’ve broken it down into easy steps so that even if you have no experience at all, you can follow along easily. The interesting part is you do not need any programming skills to build a website for your tourism business.
As you know a website is an essential marketing tool for every small and medium-sized business. It helps them reach out to their target audience by providing information about themselves or their products/services. You can use platforms like Squarespace, Wix, WordPress and more, but we’ll focus on building websites using WordPress. Before we dive into the website building platforms, let us take a look at it to step by step.
Once you have identified a name for your business, you must register for a domain name for your website. A domain name is what people type into their web browser when they want to visit your site.
Domain Name:
A domain name refers to the address of your site such as www.example.com. If you are looking to start a tourism business then choosing a domain name that has some keyword related to tourism would be ideal but not mandatory. For example, if you want to create a travel blog, choose something like “travelblog.com”.
Few tips in choosing a good domain name
• Choose a short yet memorable URL that makes it easier for visitors to remember.
• Avoid numbers and special characters because these make it difficult for search engines to index your content.
• Make sure there aren’t already other sites registered under the same domain name. This could cause confusion among users who may think one of those sites belongs to yours.
Domain Registrar
You can register your domains from a domain registrar. A domain registrar is where you pay money to buy and register your website domain name.
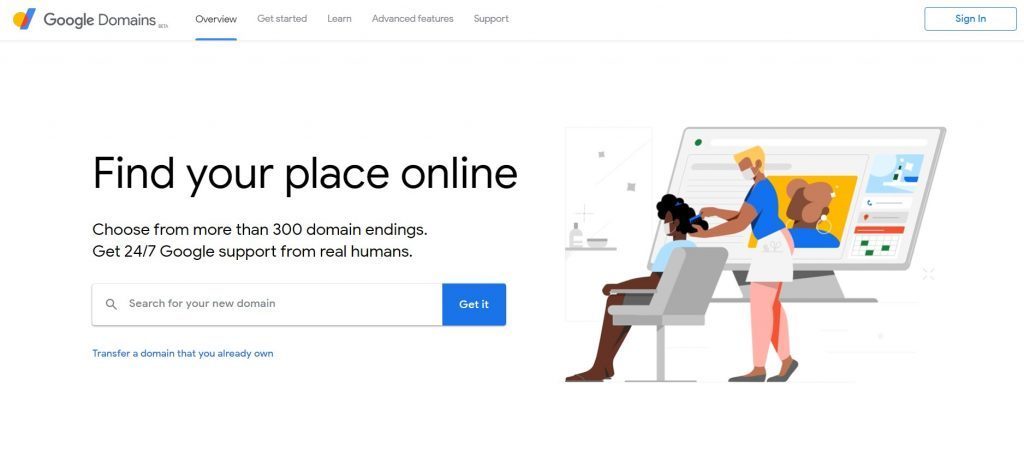
To register a domain name, you can visit a domain registrar such as namecheap.com or namesilo.com. You can also use Cloudflare Domains or Google Domains, however, we recommend that you shop around to find the best deal for your domain name.

Here is a list of domain registrars where you can purchase your business domain name:
3. Namesilo.com
Once you register your domain name, the next step is to get some space to store your website files, this is called Webhosting.
Webhosting:
Web hosting is where you upload your website files onto a server that provides storage space for your website. There are many different types of web hosts available online including shared hosting, VPS Hosting, Dedicated Servers etc.
We suggest starting off with Shared Hosting since it’s affordable and gives you enough room to grow. However, once you’ve grown your traffic and revenue, you might consider upgrading to a server with more resources. Shared hosting is usually priced between $2-$20 per month depending on how much bandwidth and disk space you need. If you are just getting started, we recommend going for a small hosting package. Here is a list of providers:
1. Fastcomet
2. Hostwithlove
3. Siteground
There are plenty of hosting companies like Bluehost, Hostgator and Namecheap that offer hosting services as well.
A web hosting plan provides storage space and bandwidth to host your website files. Be sure to shop around, read reviews and select one that fits your budget; remember to keep an eye on the customer support options. Some hosting providers offer live chat, email support while others only provide ticket only support.
Now that you have purchased your domain name and web host, you can move on to creating your website. In this toolkit, we will discuss your website platform WordPress.

WordPress is free open-source software used to power millions of websites across the world. Once installed, you can customise your design (theme) and add plugins to improve your website functionality.
Step 1 – Installing WordPress:
There are two ways to install WordPress – manually and through cPanel. It only takes a few minutes to install WordPress on your server. However, the best way is to write to your Webhosting support and they will guide you or install it for free.
Even though there is a learning curve, WordPress is very simple to learn, easy to use and there are many tutorials online.
Step 2 – WordPress Themes
WordPress themes come in various styles and designs which allow you to change the look and feel of your site without having to code anything yourself. They range from basic templates all the way up to fully responsive premium themes. We highly recommend using a theme that has been designed by someone else rather than trying to create something unique yourself. This ensures consistency throughout your entire website. You should also choose a template that suits your target audience as well as your brand identity.
Step 3 – WordPress Plugins
The term plugin refers to any piece of software that adds additional features to your website such as social media sharing buttons, contact forms, eCommerce tools, SEO optimisation tools, security measures, analytics tracking tools etc. Plugins make building your website faster and easier. Most importantly, they help save time and money. You don’t necessarily need every single feature listed above but if you want to build a successful business then these must be included.
For example, adding Google Analytics helps track visitors to your website so you know what people like about your content. Adding Woo Commerce allows you to sell products directly from your blog. These are some examples of useful plugins. There are thousands available at no cost. To find out more information visit the WordPress Plugin page.
Step 4 – Creating Content
Once you’ve chosen your theme and added plugins, you can start writing! Writing quality articles is key to success because search engines love fresh content. When users land on your website, they expect to see relevant and engaging content. So, when you publish new posts, ensure they’re high quality and include keywords related to your niche. Also, try not to overdo it. If you post too much, readers may get bored and leave. Instead, focus on publishing quality articles and be consistent.
Step 5 – SEO Optimisation
Search engine optimization is an important part of running a profitable website. Search Engine algorithms constantly evolving making it difficult to rank higher than competitors who invest heavily into their sites. Fortunately, there are several things you can do to increase traffic to your website including improving your title tags, meta descriptions, images, links, and other factors.
A good place to start would be with our SEO checklist below:
SEO Optimization Checklist
The following checklist is designed to help you optimize your website for maximum SEO results. Some optimizations are site-wide while others apply to individual pages.
SEO Optimizations for Entire Website:
- Your site is secured with an SSL certificate.
- Your site looks good on mobile phones.
- Images are compressed.
Browser caching is implemented.
HTML is minified. - Unnecessary plugins and scripts have been removed.
- SEO Optimizations for Individual Pages:
Your primary keyword is included in:
- Page title
- The first 100 words
- A subheading
- Naturally throughout the body
- Your page title is compelling.
- Your page description is compelling and contains your primary keyword.
- Your page URL is short and contains your primary keyword.
- Your introduction is short and to the point.
- Your content is formatted so that it’s easy to read.
- Relevant videos are embedded in your content.
- You linked to relevant internal pages.
- Your content is up to date.
- Content is accurate.
- Content thoroughly covers the subject.
- Implemented structured data where appropriate.
Optimized for voice search:
- FAQ pages
- Featured snippet
- Natural and simple writing
When you have a website in place, you can begin marketing your tourism business online and offline.
Check out our Marketing Toolkit in our Resources section to learn how you can market your tourism business.
